Mastering the Art of Timelapse Photography: How to Make Timelapse from Photos
In the vibrant world of photography, one technique stands out for its ability to create mesmerizing visual narratives: timelapse photography. This method allows us to condense time, showcasing the beauty of change and motion in a way that captivates audiences. In this comprehensive guide, we will delve into how you can successfully make timelapse from photos, transforming ordinary moments into extraordinary visual experiences.
Understanding Timelapse Photography
Timelapse photography involves capturing a series of images over an extended period and then playing them back in a sequence that shows time passing quickly. The fantastic aspect of this technique is the ability to reveal dynamics that are typically imperceptible to the human eye. Whether it's the movement of clouds, the bustling activity in a city, or the gradual blooming of a flower, timelapse offers a unique take on the world around us.
Benefits of Using Timelapse in Your Photography
Before we dive into the technical aspects of how to make timelapse from photos, let's explore some of the notable benefits of this photographic technique:
- Engagement & Storytelling: Timelapse videos are visually compelling and engaging, making them excellent tools for storytelling.
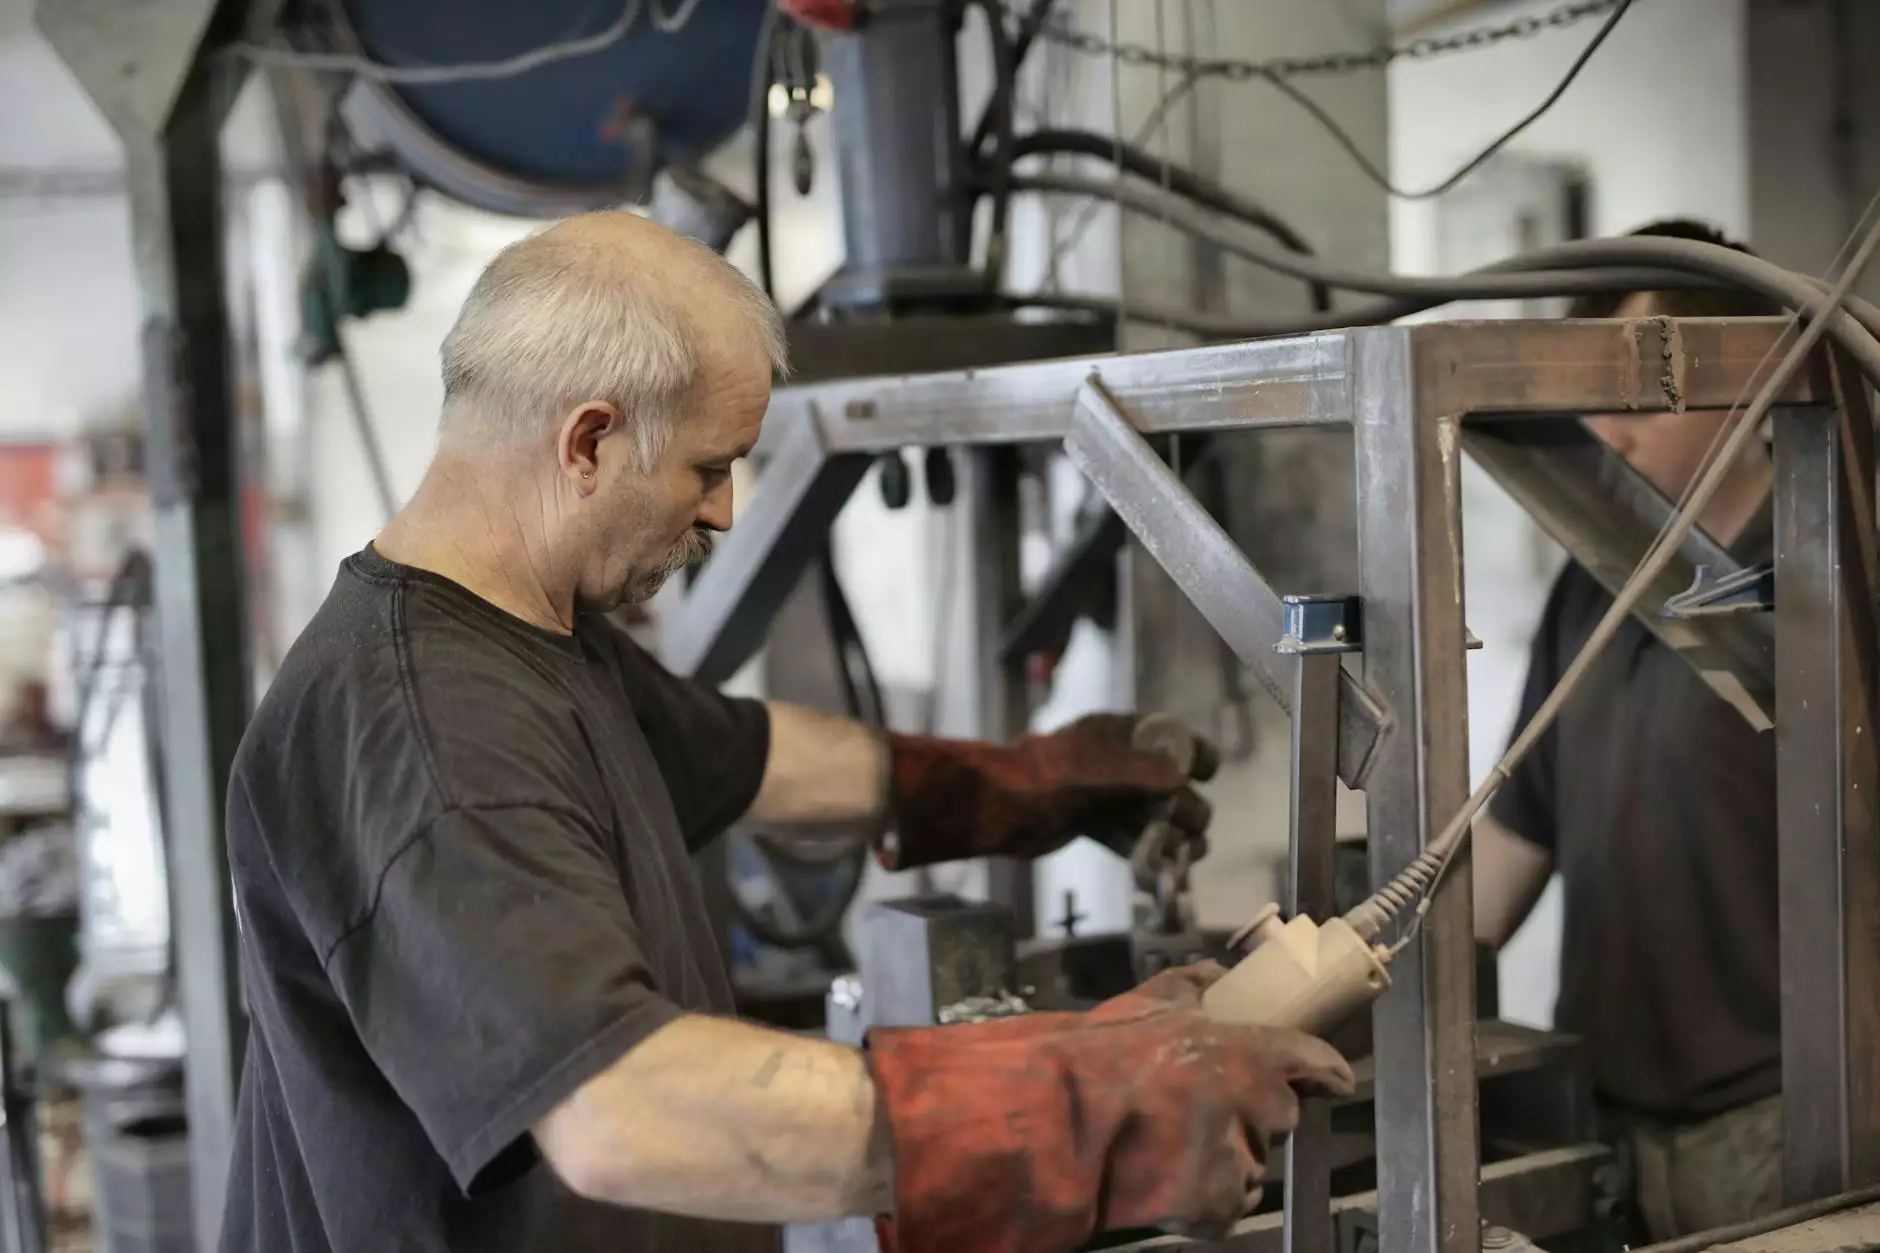
- Showcasing Change: Capture the gradual changes in your environment, like the shifting seasons or construction progress.
- Creative Exploration: This technique encourages photographers to experiment with angles, compositions, and lighting.
- Professional Portfolio Enhancement: Including timelapse sequences in your portfolio can elevate your work and attract clients, especially in fields like real estate photography.
Preparing to Make Timelapse from Photos
Creating a successful timelapse requires thoughtful preparation. Here are the essential steps you should take before starting your project:
1. Choose Your Subject Wisely
The subject you select for your timelapse is crucial. Look for scenes with visible movement or transformation. Ideal subjects include:
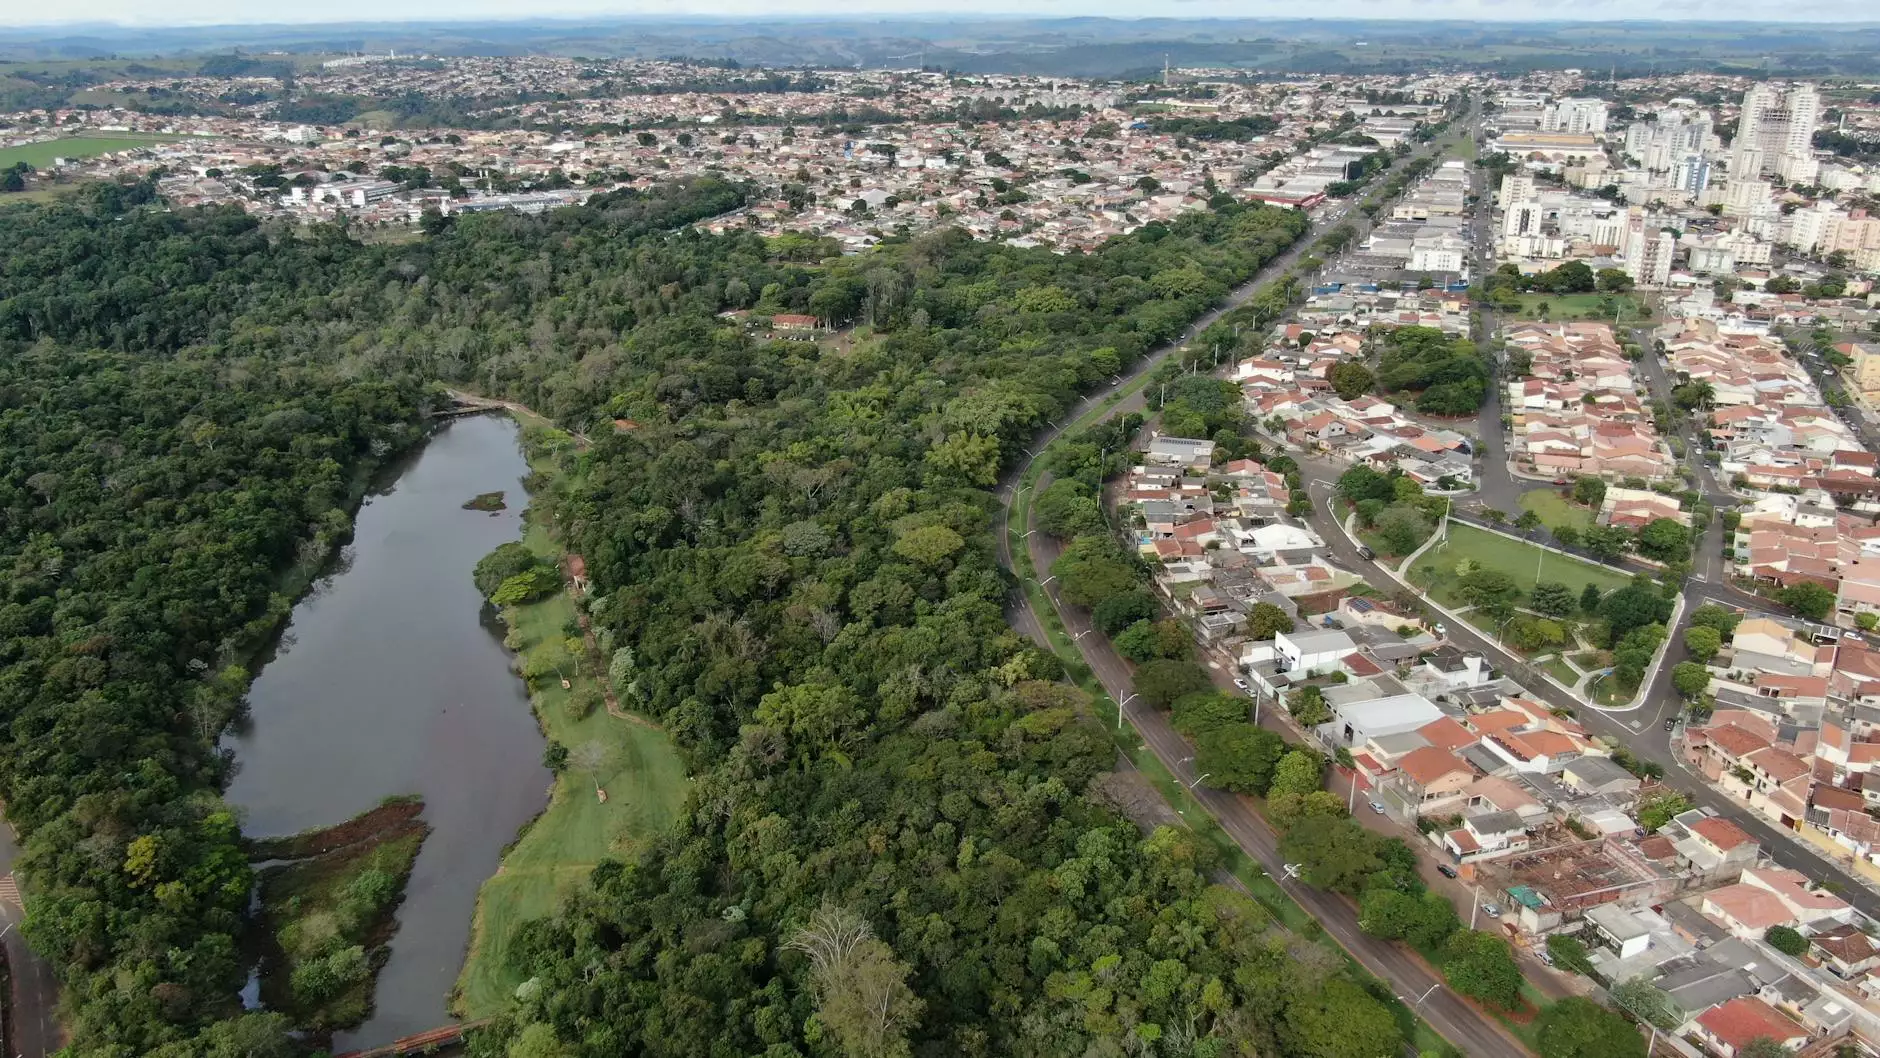
- Nature scenes (cloud movements, sunsets, blooming flowers)
- Architectural changes (construction sites, urban transformations)
- Actions unfolding over time (people commuting, events unfolding)
2. Calculate Your Timeframe
Understanding how long you will need to shoot and how much time you want to condense is vital for successful timelapse photography. You’ll want to decide on:
- Duration of the actual shoot: This will depend on what you are capturing.
- Play rate: A common rate is to play at 24 frames per second, meaning you will need to capture 24 images for every second of your final video.
3. Equipment Requirements
While timelapse photography can be done with various types of cameras, using the right equipment can make a significant difference in your results. Here’s what you’ll need:
- Camera: A DSLR or mirrorless camera with manual settings is ideal.
- Tripod: Stability is essential for consistent shots, so invest in a sturdy tripod.
- Intervalometer: This device automatically triggers the camera to take pictures at set intervals.
- Editing Software: Use software like Adobe Premiere Pro, Final Cut Pro, or specialized timelapse software to compile your photos into a video.
Shooting Techniques for Timelapse Photography
Now that you're prepared, let’s discuss the techniques involved in shooting your timelapse sequence:
1. Set Up Your Camera
Mount your camera securely on a tripod and ensure it’s locked in place. Check that the lens is clean and that your settings are configured for optimal performance:
- Focus: Use manual focus to prevent any accidental shifting during the shoot.
- Aperture: A small aperture (higher f-stop number) will increase depth of field and ensure more of your scene is in focus.
- Shutter Speed: Adjust this based on lighting conditions and movement speed in your scene.
- ISO Settings: Set the ISO as low as possible to minimize noise in your images.
2. Determine the Interval
Setting the right interval between shots is paramount. A general guideline would be to capture a photo every 1 to 60 seconds, depending on how fast you want the motion to be portrayed. For example:
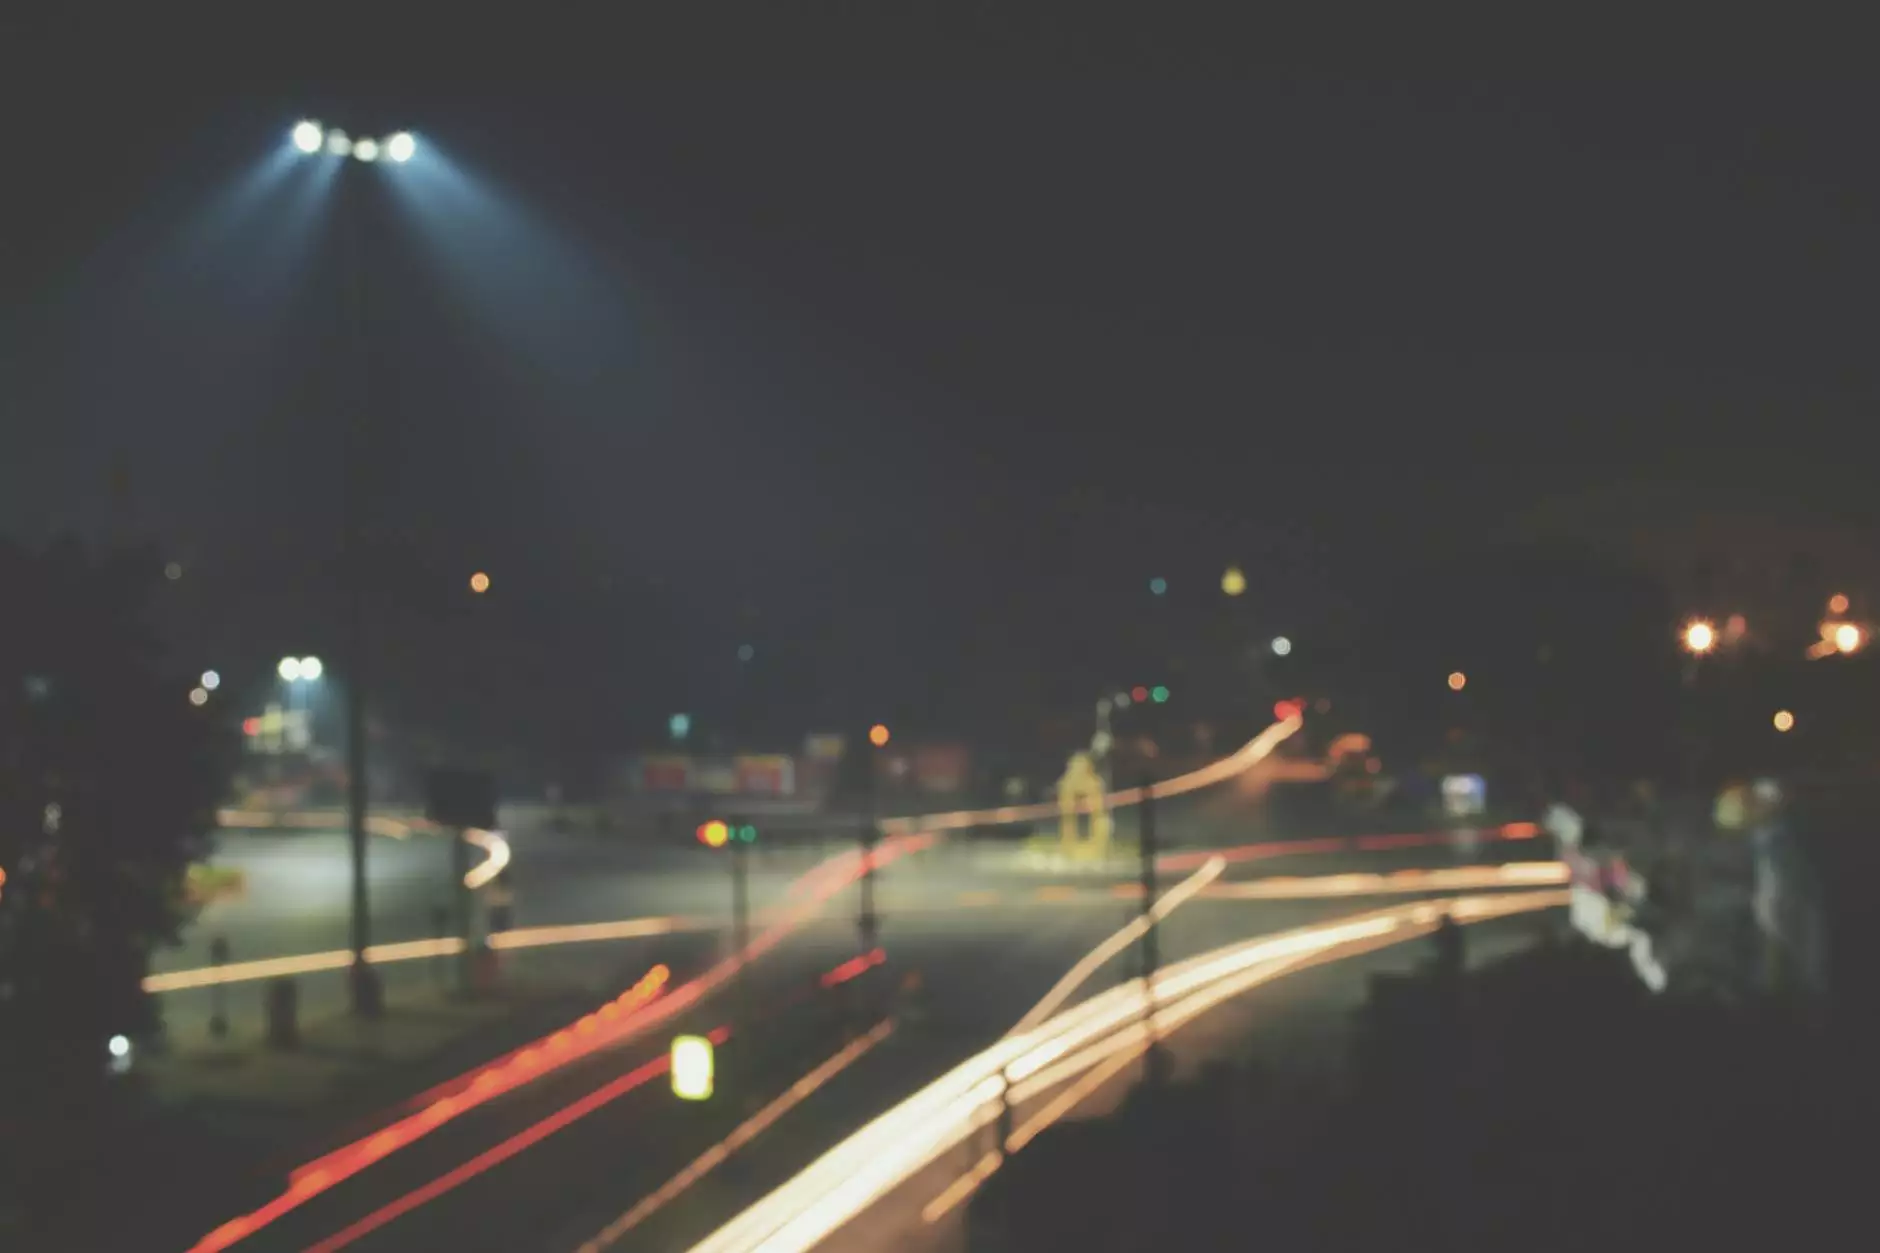
- Fast-moving subjects (like traffic): 1 second intervals.
- Slow-moving subjects (like plants growing): 10 to 30 seconds or more.
3. Monitor Your Scene
Throughout the shooting process, keep an eye on your composition and lighting. Adjust your settings as necessary, particularly if the lighting conditions change during your shoot.
Post-Processing Tips for Timelapse Videos
Once you’ve captured your images, it's time to compile them into a stunning timelapse video. Here’s how to effectively make timelapse from photos in post-processing:
1. Import Your Images
Start by importing your photos into your chosen editing software. Arrange them in sequential order based on your shoot.
2. Set Frame Rate and Duration
Adjust the frame rate according to your desired playback speed. If working in Premiere Pro, you can set the sequence to 24fps, allowing for smooth playback.
3. Add Effects and Soundtrack
Consider adding effects to enhance your timelapse. You might want to use speed ramping, where certain sections speed up or slow down for added effect. Don’t forget to choose an engaging soundtrack to complement the visuals, as music can significantly enhance the emotional impact of your work.
4. Export and Share
Finally, export your video in high quality (at least 1080p) for sharing on platforms like YouTube, Vimeo, or social media. This can help showcase your work to a broader audience, potentially increasing your visibility in the photography community.
Common Mistakes to Avoid When Making Timelapse from Photos
Here are a few common pitfalls to watch out for when creating your timelapse:
- Inconsistent Intervals: Ensure that your intervals are consistent for smooth playback.
- Bad Lighting Conditions: Avoid shooting at times when lighting is harsh or inconsistent.
- Forget to Charge Batteries: Always check your battery life, especially for long shoots.
- Not Planning Ahead: Make sure to plan your shoot around scouting locations and conditions.
Conclusion: Elevate Your Photography Skills with Timelapse
In conclusion, making timelapse from photos is an incredible way to reinforce your storytelling capabilities in photography. By understanding your subject, preparing adequately, and honing your shooting and editing techniques, you can create stunning visual narratives that resonate with viewers. Whether you're a professional in real estate photography looking to elevate your portfolio or a hobbyist seeking to explore new creative avenues, this technique opens up a world of possibilities. So gear up, get out there, and start capturing the magic of time-lapse!
For more insights into photography techniques, products, and services, visit bonomotion.com, where you can find a wealth of resources tailored to photographers and enthusiasts alike.